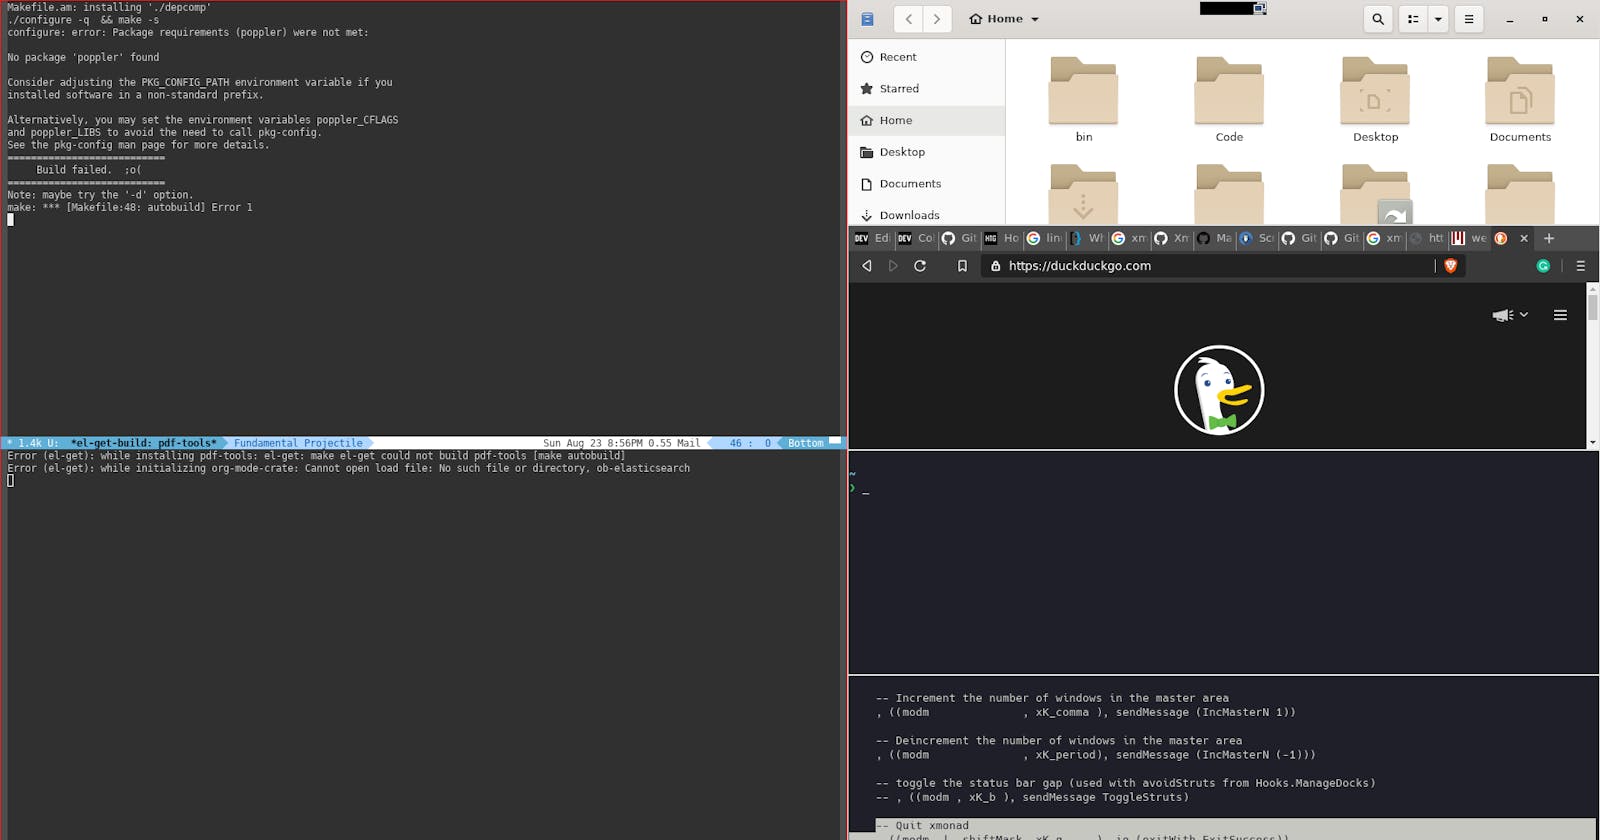
Well, I use Linux(On Debian Buster currently) on almost all of my personal laptops + desktop, and when you use Linux you get N numbers of options for almost everything to plug and play and use it.
In Linux, you have various GUIs available and my personal favorite is Gnome3 because of its clean user interface and the tweaks it allows for the look and feels.
The problems with GUIs
How to manage the various windows. I ended up buying an extra monitor.
Space issues like a title bar and subtitle bar etc so in the end you end up with a very small space (actually not that small) for your actual work.
Sometime it feels sluggish and needs a lot more resources than you want to spend on GUIs stuff.
The unwanted stuff you get along with the GUIs which you will never be going to use.
So What's the Fix?
Enter the Tiling Window Manager. There are many options available but my favorite is Xmonad.
Xmonad a minimal tiling window manager written in Haskell and DIY tiling manager which means it comes with no batteries you need to manage your Xmonad via a config file
~/.xmonad/xmonad.hs
Xmonad is very light and easy to use (actually not that easy) but man once you understand the terminologies you will love it and again you will learn little bit Haskell isn't it cool?
Another cool thing about the tiling window manager is you move towards a keyboard-driven approach and that means a less distraction at least for me and super productive.
Configurations
Let's walk through the config file snippet for the Xmonad
import XMonad
import System.Exit

import qualified XMonad.StackSet as W
import qualified Data.Map        as M

myTerminal      = "terminator"

myBorderWidth   = 1

myModMask       = mod1Mask
In the above config
I have defined my default
terminaland I love Terminator .I defined
myModmaskwhich means mymodkeywhich I bind tomod1Maskwhich means the leftAltkey on QWERTY keyboard.
Key Bindings
myKeys conf@(XConfig {XMonad.modMask = modm}) = M.fromList $

    [ ((modm .|. shiftMask, xK_Return), spawn $ XMonad.terminal conf)


    , ((modm , xK_Print), spawn "scrot screen_%Y-%m-%d-%H-%M-%S.png -d 1")


    , ((modm .|. controlMask, xK_Print), spawn "scrot window_%Y-%m-%d-%H-%M-%S.png -d 1-u")


    , ((modm,  xK_p), spawn "exe=`dmenu_path | dmenu` && eval \"exec $exe\"")


    , ((modm .|. shiftMask, xK_p), spawn "gmrun")


    , ((modm .|. shiftMask, xK_c), kill)


    , ((modm, xK_h), sendMessage Shrink)


    , ((modm,xK_l), sendMessage Expand)


    , ((modm,xK_t), withFocused $ windows . W.sink)
]
The above is just a snippet from my Xmonad config file. Let's go through the keywords we are seeing in the above snippet.
XMonad.modMask = modm
For my meta key or mod key, I will be using modm. Later part we can define our key bindings.
- To launch a terminal
((modm .|. shiftMask, xK_Return), spawn $ XMonad.terminal conf)
The above code snippet will bind the meta key or mod key in my case its Alt key and shiftMask = Shift Key plus Enter = xK_Return to spawn my terminal which is Terminator.
- ScreenShots
((modm , xK_Print), spawn "scrot screen_%Y-%m-%d-%H-%M-%S.png -d 1")

, ((modm .|. controlMask, xK_Print), spawn "scrot window_%Y-%m-%d-%H-%M-%S.png -d 1-u")
To take a screenshot for full screen or for the focused window bind the key modm and ControlKey + PrintScreen Key and it will spawn a daemon name scrot. On other note scrot stands for SCReenshoT.
- Open a Menu or DMenu
((modm, xK_p), spawn "exe=`dmenu_path | dmenu` && eval \"exec $exe\"")
The above command will open Dmenu and we can just type the program name we want to access like nautilus, brave, emacs etc.
- To kill a focus window
((modm .|. shiftMask, xK_c), kill)
The above command which is alt and shift + c will kill the focused window.
- To shrink the window
((modm, xK_h), sendMessage Shrink)
The above command which is alt + h will shrink the focused window.
- To expand the window
((modm,xK_l), sendMessage Expand)
The above command which is alt + l will expand the focused window.
- To move focus to next window
((modm,xK_j), sendMessage Expand)
- To move focus to the previous window
((modm,xK_j), sendMessage Expand)
- To switch between tiling mode
((modm, xK_space ), sendMessage NextLayout)
All above key bindings are a few drops out of the ocean. Please refer to the official documentation for more config settings.
Conclusion
Tiling window manager is really good when you need a minimal GUI and mostly your work is Keyboard driven.
Tiling window manager needs some learning actually it really needs to rewire your mind in order to operate.
Tiling window manager is lightweight and can work on low-end machines, old machines.
Happy Tiling!!
